You’ve just installed new sod, and the lawn looks perfect. But that freshly laid turf is more vulnerable than it appears. The next two weeks will determine whether your investment establishes strong roots or withers into an expensive mistake.
New sod arrives with severed roots and limited moisture reserves. Without immediate, consistent care, those roots won’t reconnect with the soil beneath. The grass will brown, thin out, or die in patches. Most sod failures happen because homeowners either water too little in the first week or too much in the second.
This guide breaks down exactly what to do at each stage of establishment, from the first 30 minutes after installation through the transition to regular lawn care. Whether you’ve installed sod yourself or worked with professionals through a sod installation service, these horticultural best practices will help you protect that investment.
The key is understanding why each step matters. Climate, soil type, sun exposure, and grass species all affect timing, so you need to recognize what healthy establishment looks like rather than blindly following a calendar.
New Sod Care at a Glance
| Phase | Watering | Foot Traffic | Mowing | Fertilizer |
|---|---|---|---|---|
| First 24 hours | 2–3 sessions, 5–10 min each | None | None | None |
| Days 2–10 | 2–4 times daily | None | None | None |
| Days 10–14 | 1–2 times daily | Light only after rooting test | First mow when grass hits 4″ | Starter (if not pre-applied) |
| Weeks 2–4 | Every other day, 10–15 min | Normal | Weekly | Starter, week 2–3 |
| Month 2+ | 1–1.5″/week, deep soak | Unrestricted | Weekly at 3–3.5″ | Balanced lawn fertilizer at week 8 |
The First 24 Hours After Installation: Why Watering Urgency Matters
Newly laid sod has exposed roots that lose moisture rapidly. In warm weather, those roots can dry out within an hour. Once roots desiccate, the grass cannot recover.
Water your new sod within 30 minutes of installation if possible. The goal is to saturate both the sod itself and the top two to three inches of soil beneath it. This creates immediate contact between roots and moisture, giving the grass a chance to begin the reestablishment process.
Water two to three times during the first 24 hours. Each session should last five to ten minutes per zone, long enough to soak through without creating runoff. Focus extra attention on edges, corners, and areas along hardscaping where wind exposure accelerates drying.
After watering, lift a corner of the sod and check the soil underneath. It should feel damp and slightly cool. If the soil is dry or only surface-wet, increase your watering duration. If water is pooling on the surface, you’re applying too much too quickly. Let it absorb, then resume with shorter intervals.
The common mistake here is assuming your existing sprinkler system is adequate. Many irrigation systems are designed for established lawns, not vulnerable new sod. Walk your lawn after the first watering session and look for dry patches. If you find them, supplement with a hose or adjust sprinkler heads before the second watering.
[IMAGE 2] Alt text: “Hand lifting corner of new sod to inspect damp soil underneath”
Days 2–10: Building Consistent Moisture and the Rooting Test
This is the establishment window. Roots are growing downward into the soil, but they’re still shallow and dependent on frequent moisture. The sod needs to stay consistently damp without becoming waterlogged.
Water two to four times daily during this period, adjusting based on temperature, humidity, and sun exposure. In cool, cloudy weather, twice daily may be sufficient. In hot, sunny conditions, you may need four sessions. The timing matters more than the frequency: early morning, late morning, early afternoon, and early evening work well. Avoid watering after dark, as prolonged surface moisture overnight encourages fungal disease.
Each watering session should last long enough to keep the top inch of soil moist. This typically means five to ten minutes per zone, but check by inserting a screwdriver or your finger into the soil. If it meets resistance before reaching two inches deep, the soil is too dry.
How to Perform the Rooting Test
Around day seven to ten, perform the rooting test. Gently tug on a piece of sod in several locations. If it lifts easily, roots haven’t anchored yet. If it resists and feels firmly attached, the roots are taking hold. This test tells you when it’s safe to reduce watering frequency and allow foot traffic.
Keep people and pets off the sod during this period. Foot traffic compresses soil, disrupts root-to-soil contact, and creates divots that interfere with establishment. If you must walk on it for maintenance, step lightly and vary your path.
The failure scenario to watch for: soggy, squishy soil that doesn’t drain. This means you’re overwatering or your soil has poor drainage. Overwatered sod develops shallow roots, becomes vulnerable to disease, and may develop a rotting smell. If you see water pooling 30 minutes after irrigation, cut back frequency and consider aerating the soil before installation next time.
When to Mow New Sod (And Why Timing Matters)
The standard advice is to wait two weeks before mowing, but that’s a calendar estimate, not a biological marker. The real question is whether roots are deep enough to handle the stress of mowing.
Mowing involves blade trauma, weight from the mower, and sudden moisture loss from cut leaf tips. If roots are shallow, this combination can pull sod loose or shock the grass into dormancy.
Use the rooting test to determine readiness. When sod resists tugging and the grass has grown to about four inches tall, it’s ready for the first mow. This typically happens between day 10 and day 14, but it can take longer in cool weather or with certain grass species.
Set your mower to its highest setting, ideally three to three and a half inches. Never remove more than one-third of the grass blade height in a single cut. If your sod has grown tall during the establishment period, mow it twice over several days rather than scalping it in one pass.
Sharp mower blades are critical. Dull blades tear grass rather than cutting it cleanly, leaving ragged tips that lose moisture and turn brown. If you’re using a rotary mower that hasn’t been sharpened recently, sharpen it before the first cut or use a reel mower.
After mowing, check for any areas where sod has lifted or shifted. If you find spots where roots have pulled loose, press the sod back down, water it immediately, and stay off that area for another few days.
Care by Grass Type: Warm-Season vs. Cool-Season Sod
Establishment timelines and care details vary by grass species. Knowing which type you have helps you fine-tune watering and mowing.
Warm-Season Grasses
Warm-season sod establishes fastest in late spring through summer when soil temperatures stay above 65°F. These types tend to root quickly but go dormant (and brown) when temperatures drop in fall.
- Bermuda grass: Aggressive grower, roots within 7–10 days in summer heat. Mow at 1–2 inches once established.
- Zoysia: Slower to root than Bermuda (often 14–21 days), but extremely heat- and drought-tolerant once established. Mow at 1.5–2.5 inches.
- St. Augustine: Roots in 10–14 days. Prefers shade tolerance and moist soil. Mow at 3.5–4 inches—taller than most warm-season types.
- Centipede: Slowest warm-season rooter, sometimes 21+ days. Low fertilizer needs. Mow at 1.5–2 inches.
Cool-Season Grasses
Cool-season sod establishes best in early fall or early spring when soil temperatures are 50–65°F. Summer installations are riskier and require more aggressive watering.
- Kentucky bluegrass: Roots in 14–21 days. Cold-hardy and self-repairing via rhizomes. Mow at 2.5–3.5 inches.
- Tall fescue: Roots in 10–14 days. Deep-rooted and drought-tolerant for a cool-season type. Mow at 3–4 inches.
- Perennial ryegrass: Fastest cool-season rooter, often 7–10 days. Often blended with Kentucky bluegrass for quick coverage. Mow at 2–3 inches.
- Fine fescue: Best for shade. Roots in 14–21 days. Mow at 2.5–4 inches.
If you live in the U.S. transition zone (roughly Virginia through northern Texas), tall fescue and Zoysia are the most reliable choices because they tolerate both summer heat and winter cold.
Weeks 2–4: Reducing Watering Frequency and First Fertilizer Application
Once roots pass the rooting test, your watering strategy shifts. The goal now is to encourage roots to grow deeper by watering less frequently but more thoroughly. Shallow, frequent watering creates shallow root systems that struggle in heat or drought.
During week two, reduce to one to two waterings per day. By week three, transition to watering every other day or three to four times per week, depending on rainfall and temperature. Each session should last longer than before, 10 to 15 minutes per zone, soaking the soil to a depth of four to six inches. This trains roots to reach downward for moisture rather than staying near the surface.
Check soil moisture by inserting a screwdriver six inches into the ground an hour after watering. If it slides in easily and comes out slightly damp, you’re watering correctly. If the soil is dry at four inches, increase duration. If it’s soggy at six inches, reduce frequency.
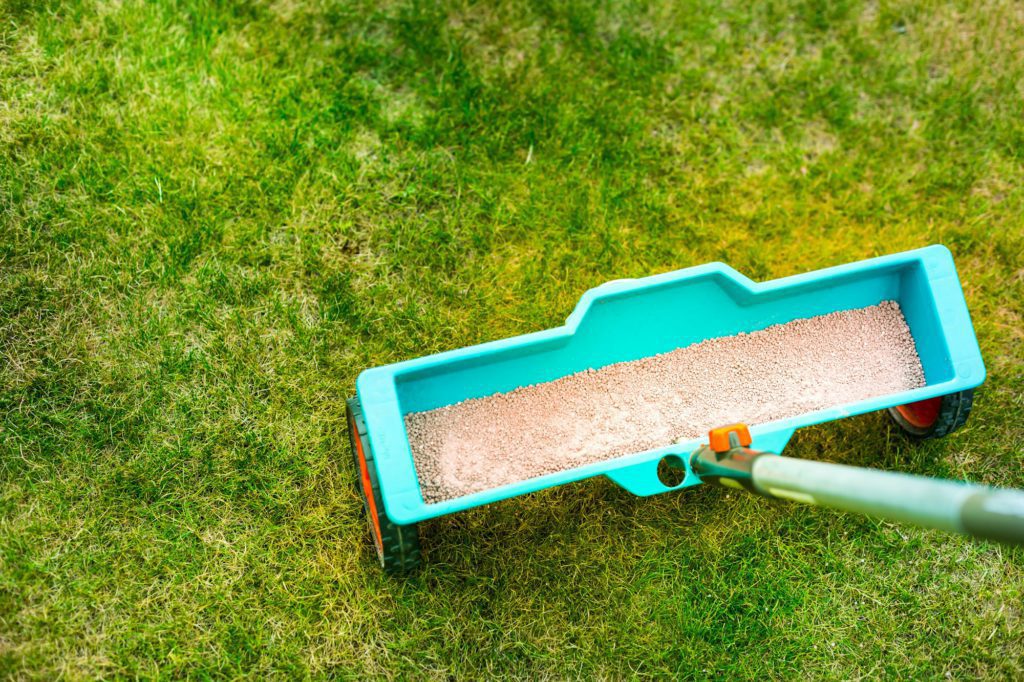
Fertilizer timing depends on what was applied during installation. Many sod farms apply starter fertilizer before harvesting, which provides nutrients for the first two to three weeks. If no fertilizer was applied, or if you’re approaching week three, apply a starter fertilizer with higher phosphorus content to support root development.
Use a product labeled for new sod or new lawns, typically with an NPK ratio like 18-24-12. Apply according to package directions, usually at half the rate recommended for established lawns. Water thoroughly after application to move nutrients into the root zone and prevent leaf burn.
Avoid applying herbicides, fungicides, or high-nitrogen fertilizers during this period. The grass is still establishing and vulnerable to chemical stress. Weeds are normal and can be hand-pulled. Wait until after the second or third mowing to consider selective herbicides if needed.
Troubleshooting: Signs of Trouble and What They Mean
Even with careful attention, problems can arise. Recognizing symptoms early allows you to correct course before damage becomes permanent.
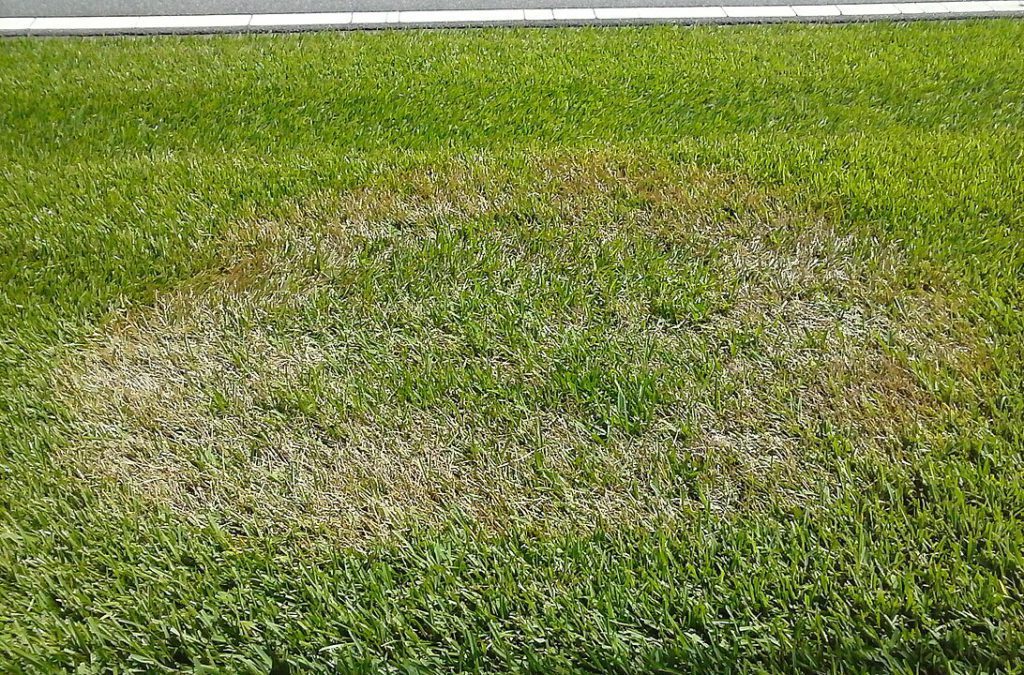
Brown or Yellow Patches
This usually indicates underwatering, but location matters. If brown patches appear along edges, seams, or near paved surfaces, those areas are drying out faster than the rest of the lawn. Increase watering frequency in those specific zones. If browning is widespread, you’re underwatering the entire lawn. If brown patches appear in low spots where water collects, the issue may be overwatering or poor drainage causing root suffocation.
Soggy Ground with Standing Water
Overwatering or drainage problems. Reduce watering frequency immediately. If the soil remains saturated despite cutting back, you have a drainage issue. This may require soil amendment or regrading, which is harder to fix after sod is installed. In mild cases, aerating the surrounding area can help water infiltrate.
Sod Edges Lifting or Curling
Insufficient watering or poor soil contact during installation. Press the lifted edges back down, ensure the soil beneath is damp, and water more frequently in those areas. If entire sections lift easily after two weeks, roots aren’t establishing properly. This can indicate compacted soil, poor soil preparation, or sod that was harvested too long before installation.
Patchy Bare Spots or Gaps Between Sod Pieces
Installation seams, uneven settling, or foot traffic damage. Small gaps typically fill in as grass spreads, but large bare patches may need reseeding. Wait until the surrounding sod is established (around week four) before overseeding. If gaps persist or widen, the sod may not have been laid tightly enough, or soil settling is pulling pieces apart. A professional overseeding or patch repair service can address larger bare spots if they don’t recover naturally.
Weeds Appearing Between Sod Pieces
Completely normal. Weed seeds are present in all soil, and they germinate quickly in the moist conditions new sod requires. Hand-pull weeds during the first three weeks. After the third mowing, when grass is well-rooted, you can apply a selective post-emergent herbicide if needed. Avoid pre-emergent herbicides until the sod has been down for at least eight weeks, as they can interfere with root development.
Sod Still Not Rooted After Two Weeks
Tug several pieces in different areas. If they all lift easily, something is wrong. Possible causes include poor soil-to-sod contact, compacted soil preventing root penetration, or sod that was stored too long before installation and declined in health. Increase watering frequency to keep roots from drying out while they continue attempting to establish. If there’s no progress by week three, consult a lawn care professional to assess soil conditions.
Month 2 and Beyond: Transitioning to Regular Maintenance
Establishment continues beyond day 30, but the intensive care phase is over. By the end of week four, roots should be deep enough to support normal lawn activity and routine maintenance.
Watering transitions to an as-needed schedule based on weather and grass appearance. Established sod typically needs one to one and a half inches of water per week, either from rainfall or irrigation. Water deeply once or twice per week rather than frequent shallow watering. Let the grass tell you when it needs water: if it takes on a bluish tint or footprints remain visible after walking across it, it’s time to water.
Continue mowing weekly or as needed to maintain grass at three to three and a half inches. Taller grass develops deeper roots, shades out weeds, and tolerates heat stress better than closely cropped lawns. Keep mower blades sharp and vary your mowing pattern to prevent soil compaction and grass grain.
After eight weeks, the sod is established enough for regular fertilization. Apply a balanced lawn fertilizer according to your grass type and regional growing season. Cool-season grasses benefit from heavier feeding in early fall and spring. Warm-season grasses need more nutrients during active summer growth.
Consider aeration during the first fall or spring after installation. Aeration relieves soil compaction, improves water infiltration, and encourages deeper root growth. This is especially valuable if your soil is heavy clay or if foot traffic has compacted areas of the lawn.
Once your sod is fully established, consistent maintenance is what protects the investment long-term. Regular mowing, seasonal aeration, targeted seeding for thin spots, and proper fertilization prevent the gradual decline that turns new lawns patchy and weed-filled within a few years. If weekend lawn care isn’t realistic for your schedule, LawnGuru connects homeowners with vetted local pros for ongoing mowing, aeration, and seeding.
Frequently Asked Questions About New Sod Care
Can I walk on new sod?
Avoid foot traffic for the first 10 to 14 days while roots are establishing. After the sod passes the rooting test and resists tugging, light foot traffic is acceptable. Wait until after the first mowing for regular use.
How much water does new sod need?
During the first 10 days, water two to four times daily to keep the top inch of soil consistently moist. After roots establish, reduce to once or twice daily in week two, then transition to three to four times weekly by week four. Established sod needs one to one and a half inches of water per week.
When can I fertilize new sod?
If starter fertilizer wasn’t applied during installation, apply it around week two to three. Use a high-phosphorus formula (NPK around 18-24-12) to support root development. After eight weeks, transition to regular lawn fertilizer appropriate for your grass type.
How long until my sod is fully established?
Roots typically anchor within two weeks, but full establishment takes six to eight weeks. The lawn is ready for normal use after the first month, but root systems continue developing for the first full growing season.
What if my sod is still drying out despite frequent watering?
Check for uneven sprinkler coverage, especially along edges and corners. Increase watering frequency in dry spots. If the entire lawn is drying out, lengthen watering duration or add an extra session. In extreme heat, sod may need watering every few hours during the first week. If soil beneath the sod is dry, water isn’t penetrating deeply enough.
Does new sod need to be rolled after installation?
Yes, rolling new sod immediately after installation presses it into firm contact with the soil below and eliminates air pockets that prevent root penetration. Use a lightly weighted lawn roller, rolling once across the lawn before the first watering.