Aerating your lawn is one of those tasks that most homeowners skip until problems start showing up. If your grass looks thin, water pools after rain, or the soil feels hard underfoot, aeration is likely the fix. If you’ve been searching how and when to aerate lawn areas that seem stuck no matter how much you water or fertilize, this guide covers everything you need to know: what aeration does, how to spot when your lawn needs it, which tool to use, and how to do it right the first time.
Quick Answer: Aerating your lawn means creating small holes in the soil so air, water, and nutrients can reach the grass roots more easily. Use a core aerator with hollow tines for the best results. Cool-season grasses (Kentucky bluegrass, tall fescue, perennial ryegrass) should be aerated in early fall or early spring; warm-season grasses (bermudagrass, zoysiagrass, St. Augustinegrass) in late spring to early summer. Most lawns need aeration once a year. Ready to skip the equipment rental? Schedule lawn aeration with a LawnGuru pro in your area.
What Is Lawn Aeration?
Lawn aeration is the process of perforating the soil with small holes to reduce compaction and improve the movement of air, water, and nutrients to grass roots. Over time, foot traffic, heavy rainfall, and clay-heavy soils cause the ground to compact, which restricts root growth and starves your grass of what it needs to thrive.
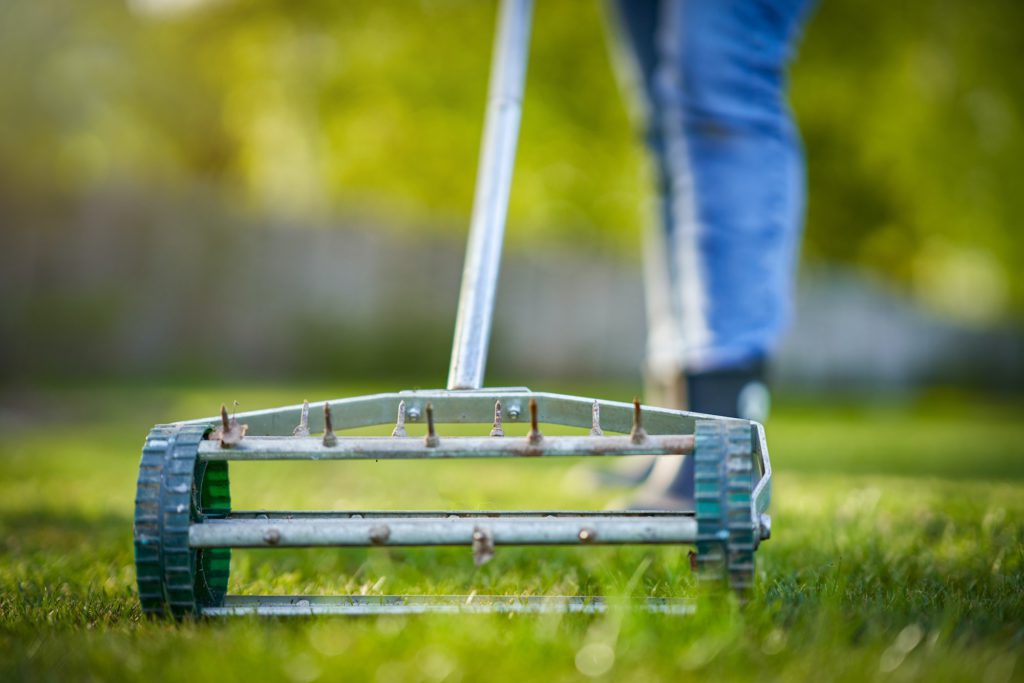
A core aerator removes small soil plugs, typically 2 to 3 inches deep, from the lawn. Those plugs break down on the surface within 1 to 2 weeks, returning organic matter to the soil profile. This direct soil removal is what makes core aeration significantly more effective than spike aeration, which only pushes soil aside without removing it.
Lawn care professionals consistently recommend core aeration as the standard approach because it creates real space in the soil rather than just perforating it. For a full look at how the process affects root depth and water retention, see the benefits of core aeration guide.
Signs Your Lawn Needs Aeration
Your lawn will tell you when it needs aeration if you know what to look for. The most reliable indicators are:
- Water runoff after rain or irrigation. If water pools or sheets off instead of soaking in, the soil is too compacted to absorb it properly.
- Soil that feels hard underfoot. Push a screwdriver 6 inches into the lawn. If it takes real effort, compaction is the problem.
- Thin, patchy growth in high-traffic areas. Foot traffic gradually compresses the root zone, and grass thins out as roots lose access to oxygen.
- Thatch layer thicker than half an inch. Cut a small plug of turf and measure the spongy layer between the grass blades and the soil surface. Anything over half an inch signals a problem.
- Grass that looks dull or stressed despite regular watering. Compacted soil prevents roots from going deep, leaving grass unable to access moisture even when it is present.
According to Penn State Extension, soil compaction is one of the leading causes of turf decline in residential lawns, particularly in areas with clay-heavy soil or consistent foot traffic. If your lawn checks two or more of the signs above, aeration before the next growing season is the right move.
When Is the Best Time to Aerate Your Lawn?
The best time to aerate depends on your grass type. Getting the timing right determines how quickly the lawn recovers and fills in the holes left by the aerator.
For cool-season grasses like Kentucky bluegrass, tall fescue, and perennial ryegrass, which are common across USDA hardiness zones 3 to 7, the ideal window is late August through October. Early September is the sweet spot for most of the Northeast, Midwest, and Pacific Northwest, as it lets grass recover and thicken before winter dormancy. A secondary window exists in early spring (March to April), though fall remains the stronger choice.
For warm-season grasses like bermudagrass, zoysiagrass, and St. Augustinegrass, which thrive in zones 7 to 10, the best timing is late May through early July, when the grass is actively growing and can recover quickly. Aerating too early in spring, before warm-season grass fully breaks dormancy, delays recovery and wastes the effort.
The best time to aerate lawn guide breaks this down by region with specific windows for the transition zone states where both grass types overlap.
Never aerate dormant grass, newly seeded areas, or a lawn under heat stress. Timing aeration with the active growing season is what drives the results you are after.
Core Aerator vs. Spike Aerator: Which Method Works Best?
A core aerator is the right tool for the vast majority of lawns. It uses hollow tines to pull out plugs of soil, physically opening the soil profile and giving roots room to expand. Spike aerators, which use solid tines to poke holes, are cheaper and more widely available, but they do not remove soil. They push soil to the sides, which can actually increase compaction around each hole in clay or loamy soils.
The one scenario where spike aerators are acceptable is sandy soil with minimal compaction, where the goal is simply to improve water penetration before overseeding. For clay soil, compacted soil, or any lawn with a dense thatch layer, hollow tines are the only tool that addresses the underlying problem.
Renting a walk-behind core aerator costs around $80 to $100 per day at most rental shops, which is the most practical approach for homeowners. Aerator shoes, which attach to your boots, are not effective at the 2 to 3 inch depth needed to reach the root zone.
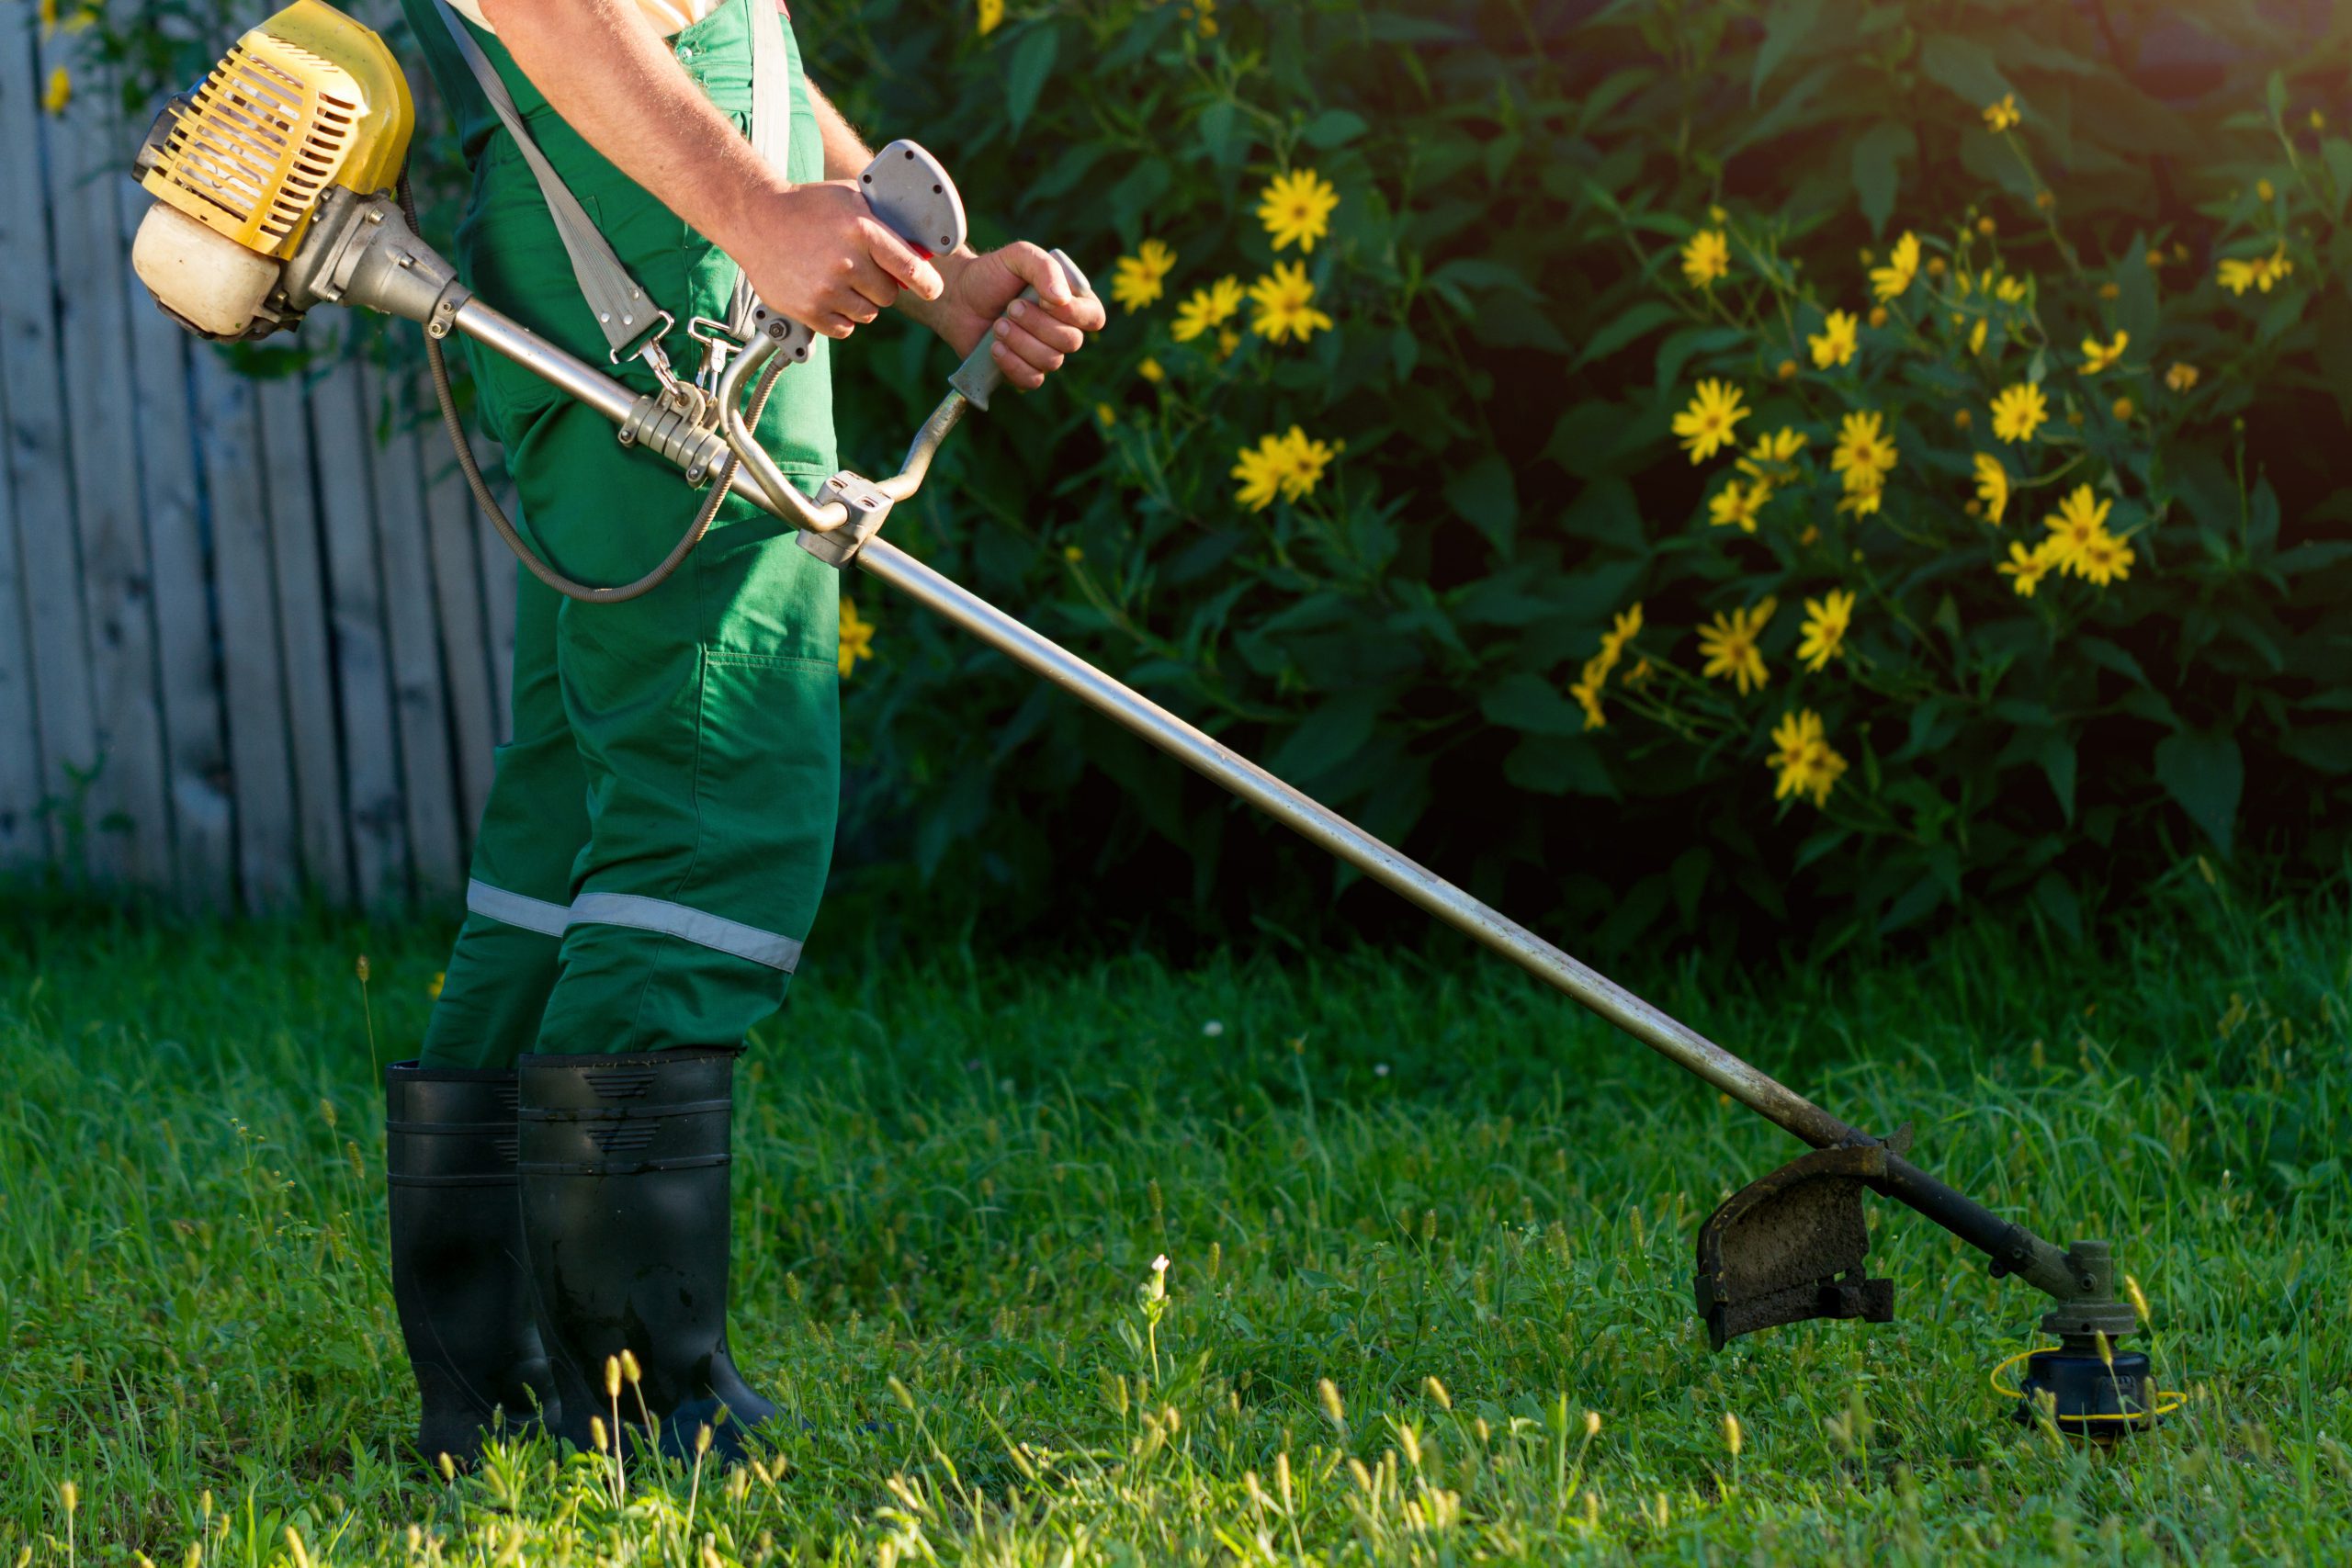
How to Aerate Your Lawn Step by Step
Step 1: Water the lawn 1 to 2 days before aerating. Moist soil, roughly 1 inch of water, allows hollow tines to penetrate to the correct depth. Hard, dry soil limits how deep the aerator reaches and significantly reduces its effectiveness. Avoid aerating waterlogged soil, which sticks to the tines and causes uneven plug extraction.
Step 2: Mark any irrigation heads, shallow cables, or buried objects. Core aerators pull plugs with real force. Mark sprinkler heads, invisible fence lines, and any shallow utilities with small flags before you start. Most rental shops include marking flags or recommend this step when you pick up the machine.
Step 3: Make two passes in perpendicular directions. Run the first pass across the lawn in one direction, then run a second pass at 90 degrees to the first. This cross-hatch pattern produces the hole density needed to meaningfully relieve soil compaction across the full surface.
Step 4: Leave the soil plugs on the surface. The plugs break down on their own within 1 to 2 weeks. Do not rake them up. They return organic matter to the lawn and help fill the hollow cores left behind.
Step 5: Fertilize and overseed immediately after aerating. Right after aeration is the best possible moment to overseed thin areas, because the open cores give seed direct contact with the soil. Fertilizer also moves directly into the root zone while the holes are open. If you plan to overseed, review the how to overseed a lawn guide first, as the timing and prep steps overlap closely with aeration.
Step 6: Water within 48 hours. Apply at least half an inch of water after aerating to encourage root recovery. If you overseeded, keep the surface consistently moist for the first 2 to 3 weeks to support germination.
How to Aerate a Lawn Without an Aerator
Renting or buying a core aerator isn’t always practical for a small yard or a one-time job, and it’s a fair question: can you get a real result without one? The honest answer is a qualified yes, with real limitations worth knowing upfront.
Garden fork method. Push a standard garden fork straight down into the soil about 4 to 6 inches, rock it back and forth slightly to widen the holes, then pull it out and move over roughly 4 to 6 inches. Repeat across the compacted area. This is slow and physically demanding for anything beyond a small yard or a few problem patches, but it genuinely relieves compaction in the spots where you use it, unlike aerator shoes, which don’t reach deep enough to matter.
Spade method. For small, specific problem areas, a flat spade can lift and reset small plugs of soil, mimicking what a core aerator does on a miniature scale. This works best on isolated dense spots, like a section of clay near a downspout, rather than a full lawn.
What doesn’t work. Aerator shoes with spikes strapped to your boots are widely sold but don’t penetrate deeply or consistently enough to meaningfully relieve compaction; treat them as a novelty rather than a real aeration method.
For anything larger than a few hundred square feet of compacted soil, a rented or professionally operated core aerator will get better results in far less time than any manual method. Manual aeration is a reasonable stopgap for a small area, not a full substitute for core aeration on a standard residential lawn.
How Often Should You Aerate Your Lawn?
Most lawns need aeration once per year. High-traffic lawns, properties with heavy clay soil, and yards with regular foot traffic from kids or pets benefit from twice-yearly aeration, once during the primary growing season window and once in spring.
Sandy soils, which naturally resist compaction, can often go two years between aerations in low-traffic settings. A simple screwdriver test each spring will tell you whether compaction has returned and whether aeration is needed that season.
The University of Minnesota Extension recommends that heavily compacted turf areas be aerated at least twice per growing season for the first two years until the soil structure improves, then dropping to annual maintenance aeration after that.
Can You Aerate Your Lawn Yourself? DIY vs. Hiring a Pro
Yes, DIY aeration is straightforward with a rented core aerator. A walk-behind unit handles most residential lots in under two hours. Larger properties over half an acre benefit from a tow-behind aerator, which attaches to a riding mower and covers ground faster.
For homeowners who aerate every year, buying a core aerator outright is worth running the numbers on: units typically run $100 to over $1,000 depending on size and quality, compared to $80 to $100 per rental day. If you’re aerating annually on your own lawn, ownership pays for itself within a handful of seasons; if it’s a once-a-year or once-every-few-years job, renting remains the cheaper option.
If you prefer to skip the equipment logistics entirely, schedule lawn aeration with a LawnGuru pro who arrives with the right machine and handles the timing for your specific grass type and region. For a full cost breakdown, including when hiring a pro makes more financial sense than renting or buying, the lawn aeration cost guide covers typical pricing by lawn size and region.
Frequently Asked Questions
What is the best method to aerate a lawn?
Core aeration with hollow tines is the most effective method for most lawns. Hollow tines pull out soil plugs 2 to 3 inches deep, which directly relieves soil compaction by removing material rather than displacing it. Spike aerators push soil aside and can worsen compaction in clay or loamy soils.
What are the disadvantages of aerating your lawn?
The main risk is poor timing. Aerating during heat stress for cool-season grasses, or before warm-season grass breaks dormancy, can set the lawn back. Aerating too frequently on sandy soils that do not compact can also disturb established root systems unnecessarily. Done at the right time of year for your grass type, the benefits far outweigh any short-term disruption.
What is the best month to aerate your lawn?
For cool-season grasses, September is the optimal month across most of the Northeast and Midwest. For warm-season grasses in the South and Southeast, June is the peak window. Timing shifts by a few weeks at either end depending on whether you are in a colder or warmer part of each region.
Should I aerate before or after dethatching?
Dethatch first, then aerate. Removing the thatch layer before aeration allows the hollow tines to penetrate soil directly rather than pushing through a layer of organic debris. For guidance on whether your lawn needs both treatments or just one, the aeration vs dethatching guide explains how to read the signs.
How long does it take to see results after aerating?
Most lawns show visible improvement within 2 to 4 weeks. Grass fills in the aerated holes, color improves, and water absorption increases noticeably after the first significant rainfall. Full root development improvement takes one complete growing season. Combining aeration with overseeding and fertilization speeds up the visible recovery significantly.
Is it okay to mow after aerating?
Wait at least a week before mowing after aeration. The grass needs time to begin recovering, and mowing too soon can stress the turf and disrupt any seed you applied after aerating. Once the soil plugs have mostly broken down and new growth is visible, normal mowing can resume.
Does aerating ruin pre-emergent herbicide protection?
No. This is a persistent myth, but aerating does not break the pre-emergent “barrier” that prevents crabgrass and other weeds from germinating. The small holes left by a core aerator affect too little surface area to meaningfully disrupt the herbicide layer across the lawn. If you’re aerating and overseeding in the same season you applied a pre-emergent, the bigger concern is that most pre-emergents also block grass seed from germinating, so check your product’s label for a safe window before overseeding, not because of the aeration itself.
The Bottom Line
Aerating your lawn once per year, timed to your grass type’s growing season, is the most effective single step you can take to address soil compaction and support long-term turf health. Use a core aerator with hollow tines, water the day before, and follow up immediately with fertilizer and overseeding while the holes are open. If you would rather skip the equipment logistics entirely, schedule lawn aeration with a LawnGuru pro and get it done during the right window for your grass type and region.